
Core Data 在 iOS 開發中是儲存資料的首選。當 App 已經上線了之後,下一版要更動 Attribute,我們就需要處理 Core Data 的升級。所幸 Xcode 已經有提供 Core Data 升級的管理機制,就是 Core Data Lightweight Migration。本章會介紹如何使用 Core Data Lightweight Migration。
第一節,我們會先建立一個新的專案,並且新增一個 Entity 叫 Person。如果你已經知道如何建立一個 Core Data 的專案,請直接閱讀第二節。
第二節,我們會對這個 Person Entity 新增一個 Attribute。
Table of Contents
建立新的專案
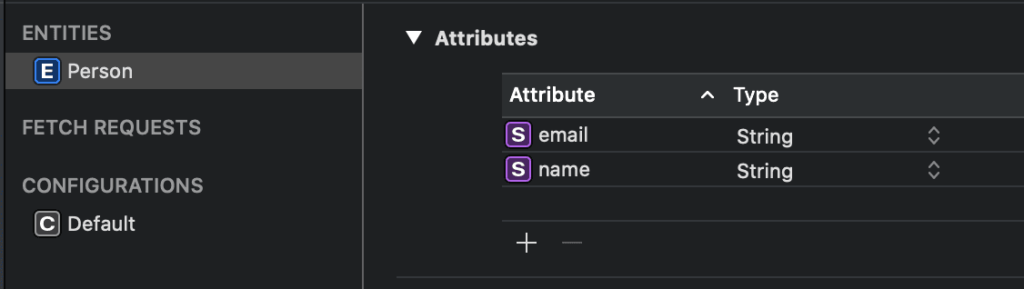
建立一個 Xcode 專案叫 CoreDataLightweightMigrationExample。在 CoreDataLightweightMigrationExample.xcdatamodeld 中新增一個 Entity 叫 Person,並且新增兩個 Attributes 叫 name 和 email,Type 都是 String。
升級 Core Data Entity
現在我們要對 Person 新增一個 Attribute 叫 phone,變更後的 Person 就是第二版。當用戶已經安裝第一版的 APP,然後升級安裝第二版 APP 後,我們希望第二版 APP 可以偵測到 Person 已經有變更,並且可以自動將第一版的 Person 升級到第二版的 Person,並且不破壞已在的 Person 資料。
對 CoreDataLightweightMigrationExample.xcdatamodeld 新增一個新的本版,叫 CoreDataLightweightMigrationExample 2.xcdatamodeld。有綠色勾勾的是目前 Xcode 選用的版本。我們在 File Inspector 中的 Model Version,選用新的版本。
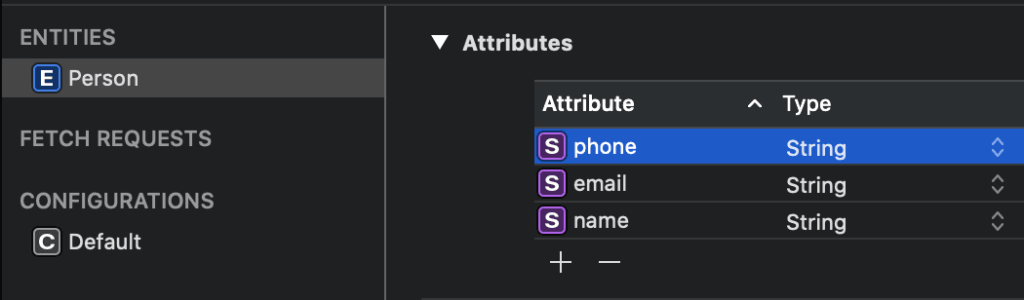
選取 CoreDataLightweightMigrationExample 2.xcdatamodeld,在 Person 裡新增 Attribute 叫 phone 。
然後在 Person+CoreDataProperties.swift 中加入 phone 的宣告。
extension Person {
    @nonobjc public class func fetchRequest() -> NSFetchRequest<Person> {
        return NSFetchRequest<Person>(entityName: "Person")
    }

    @NSManaged public var name: String?
    @NSManaged public var email: String?
    @NSManaged public var phone: String?
}
接下來,我們要告訴 Core Data 在載入 Person 的時候,要自動做版本升級。這需要將兩個變數設定為 true:
- shouldMigrateStoreAutomatically:告訴 Core Data 自動做版本升級 (Migration)
- shouldInferMappingModelAutomatically:告訴 Core Data 自動推導 mapping model。
persistentContainer = NSPersistentContainer(name: "CoreDataLightweightMigrationExam")
let description = persistentContainer.persistentStoreDescriptions[0]
description.shouldMigrateStoreAutomatically = true
description.shouldInferMappingModelAutomatically = true
persistentContainer.persistentStoreDescriptions = [description]
persistentContainer.loadPersistentStores { (storeDescription, error) in
    if let error = error {
        fatalError("Error loading store \(storeDescription), \(error)")
    }
}
managedObjectContext = persistentContainer.newBackgroundContext()
結語
Core Data 提供的 Lightweight Migration 機制是非常強大的。在 APP 持續地開發時,新的需求常常會需要增加新的 Attribute,或是變更 Attribute 的 Type。Core Data 管理這些變更,讓開發者可以專注在邏輯上的開發。


