
在開發 Android App 時,我們不免需要對整個 App 設定的自訂字體。除了對每一個 TextView 設定你要的自訂字體的方法外,Android 提供一個讓我們可以對整個 App 設定自訂的字體的方法。
下載字體檔
我們用 Google Fonts 的 Montserrat 字體作為範例。瀏覽 Montserrat 的字體網站,你可以看到 Montserrat 有很多字體。點擊右上下載 Montserrat 的所有字體。
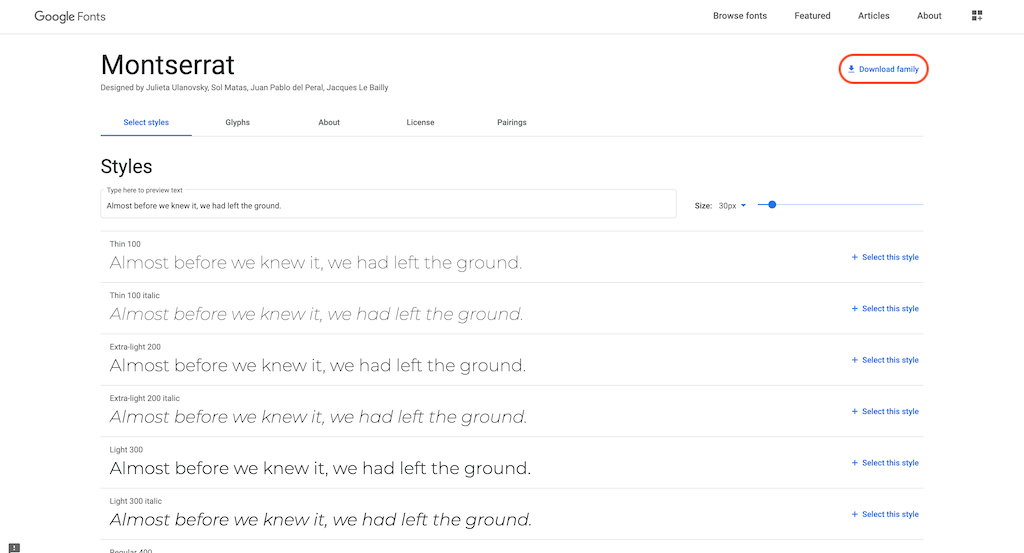
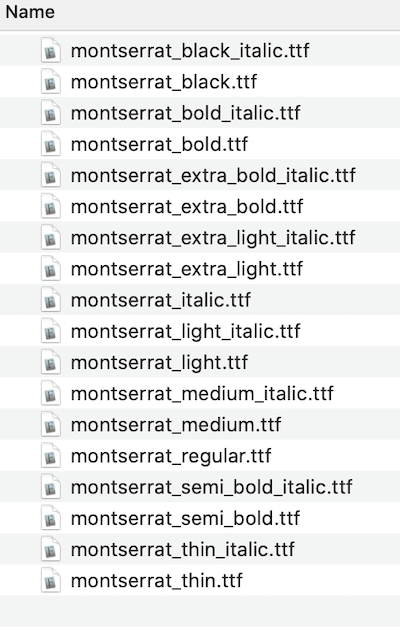
下載後,解開壓縮檔,你可以看到有下面這個字體檔。就如同網頁上所描述,每個字體檔是對應不同的粗細和斜體。

在把這些字體移入專案之前,我們必須先變更這個檔案的名稱,因為 Android 專案要求檔案名稱只能是小寫和下底線(_)。我們重新命名所有檔案,如下。
新增字體資源檔
將這些字體檔移入專案中的 res/font/ 資料夾下。如果 res/font/ 不存在的話,請先新增它。然後,在 res/font/ 下,新增一個 XML 檔叫 montserrat.xml,其程式碼如下。
<?xml version="1.0" encoding="utf-8"?>
<font-family xmlns:android="http://schemas.android.com/apk/res/android">
    <font
        android:font="@font/montserrat_thin"
        android:fontStyle="normal"
        android:fontWeight="100" />

    <font
        android:font="@font/montserrat_thin_italic"
        android:fontStyle="italic"
        android:fontWeight="100" />

    <font
        android:font="@font/montserrat_extra_light"
        android:fontStyle="normal"
        android:fontWeight="200" />

    <font
        android:font="@font/montserrat_extra_light_italic"
        android:fontStyle="italic"
        android:fontWeight="200" />

    <font
        android:font="@font/montserrat_light"
        android:fontStyle="normal"
        android:fontWeight="300" />

    <font
        android:font="@font/montserrat_light_italic"
        android:fontStyle="italic"
        android:fontWeight="300" />

    <font
        android:font="@font/montserrat_regular"
        android:fontStyle="normal"
        android:fontWeight="400" />

    <font
        android:font="@font/montserrat_italic"
        android:fontStyle="italic"
        android:fontWeight="400" />

    <font
        android:font="@font/montserrat_medium"
        android:fontStyle="normal"
        android:fontWeight="500" />

    <font
        android:font="@font/montserrat_medium_italic"
        android:fontStyle="italic"
        android:fontWeight="500" />

    <font
        android:font="@font/montserrat_semi_bold"
        android:fontStyle="normal"
        android:fontWeight="600" />

    <font
        android:font="@font/montserrat_semi_bold_italic"
        android:fontStyle="italic"
        android:fontWeight="600" />

    <font
        android:font="@font/montserrat_bold"
        android:fontStyle="normal"
        android:fontWeight="700" />

    <font
        android:font="@font/montserrat_bold_italic"
        android:fontStyle="italic"
        android:fontWeight="700" />

    <font
        android:font="@font/montserrat_extra_bold"
        android:fontStyle="normal"
        android:fontWeight="800" />

    <font
        android:font="@font/montserrat_extra_bold_italic"
        android:fontStyle="italic"
        android:fontWeight="800" />

    <font
        android:font="@font/montserrat_black"
        android:fontStyle="normal"
        android:fontWeight="900" />

    <font
        android:font="@font/montserrat_black_italic"
        android:fontStyle="italic"
        android:fontWeight="900" />
</font-family>
在 montserrat.xml 中,每一個字體檔有其對應的 <font>。
- android:font:指定對應的字體檔。
- android:fontStyle:設定字體檔是一般字體(normal)或是斜體(italic)。
- android:fontWeight:設定字體的粗細。這個粗細的數值在 Google Font Montserrat 網站上有詳細的標註,也可以在 FontWeight 上找到對應的列表。
當然你不是一定要在 montserrat.xml 中,把所有的字體都設定上去。假設你沒有設定 montserrat_bold (fontWeight 是 700)的話,那你設定 TextView 的 textStyle 為 bold 時,顯示出來的會是一般的字體。所以還是建議一開始就全部都新增上去。
<TextView
  android:id="@+id/textView"
  android:layout_width="wrap_content"
  android:layout_height="wrap_content"
  android:layout_weight="1"
  android:text="Wayne's Talk"
  android:textStyle="bold" />
設定自訂字體
接下來,我們要讓我們的專案使用 montserrat.xml 為預設的字體。在 res/themes/themes.xml 中,新增一個 <item>,如下。
<resources xmlns:tools="http://schemas.android.com/tools">
    <!-- Base application theme. -->
    <style name="Theme.AndroidFontExample" parent="Theme.MaterialComponents.DayNight.DarkActionBar">
        <!-- Primary brand color. -->
        <item name="colorPrimary">@color/purple_500</item>
        <item name="colorPrimaryVariant">@color/purple_700</item>
        <item name="colorOnPrimary">@color/white</item>
        <!-- Secondary brand color. -->
        <item name="colorSecondary">@color/teal_200</item>
        <item name="colorSecondaryVariant">@color/teal_700</item>
        <item name="colorOnSecondary">@color/black</item>
        <!-- Status bar color. -->
        <item name="android:statusBarColor" tools:targetApi="l">?attr/colorPrimaryVariant</item>
        <!-- Customize your theme here. -->
        <item name="fontFamily">@font/montserrat</item>
    </style>
</resources>
這樣就設定完成了!
SDK 版本需求
<font> 需要 SDK 版本 26 以上,所以在 build.gradle 中將 minSdkVersion 設定為 26 以上。
...
android {
    compileSdkVersion 29
    buildToolsVersion "29.0.3"

    defaultConfig {
        applicationId "com.waynestalk.androidfontexample"
        minSdkVersion 26
        targetSdkVersion 29
        versionCode 1
        versionName "1.0"
    }
}
...
測試
將 activity_main.xml 的內容替換如下。我們不需要對 <TextView> 設定 fontFamily。當 textStyle 設定為 bold 時,它也會顯示 Montserrat 的 Bold 字體。
<?xml version="1.0" encoding="utf-8"?>
<LinearLayout xmlns:android="http://schemas.android.com/apk/res/android"
    xmlns:tools="http://schemas.android.com/tools"
    android:layout_width="match_parent"
    android:layout_height="match_parent"
    android:orientation="vertical"
    tools:context=".MainActivity">

    <LinearLayout
        android:layout_width="match_parent"
        android:layout_height="wrap_content"
        android:orientation="horizontal">
        <TextView
            android:id="@+id/textView"
            android:layout_width="wrap_content"
            android:layout_height="wrap_content"
            android:layout_weight="1"
            android:text="Regular" />

        <TextView
            android:id="@+id/textView2"
            android:layout_width="wrap_content"
            android:layout_height="wrap_content"
            android:layout_weight="1"
            android:text="Wayne's Talk"
            android:textStyle="normal" />
    </LinearLayout>

    <LinearLayout
        android:layout_width="match_parent"
        android:layout_height="wrap_content"
        android:orientation="horizontal">
        <TextView
            android:id="@+id/textView3"
            android:layout_width="wrap_content"
            android:layout_height="wrap_content"
            android:layout_weight="1"
            android:text="Bold" />

        <TextView
            android:id="@+id/textView4"
            android:layout_width="wrap_content"
            android:layout_height="wrap_content"
            android:layout_weight="1"
            android:text="Wayne's Talk"
            android:textStyle="bold" />
    </LinearLayout>
</LinearLayout>


